Looking for the ultimate guide on how to start a YouTube channel? You’ve come to the right place to get all the best insider pro tips and tricks to starting a successful YouTube channel.
Our YouTube-certified team of channel experts have successfully built and managed some of the leading channels on YouTube – from Michelle Phan and Qveen Herby to Lexy Panterra, Jennifer Lopez, and Normani.
We know how to start a YouTube channel and take it from 0 to 100. In this guide, you’ll find some of the most essential ingredients to start a YouTube channel in 2022. Keep an eye out for our “Pro tips” throughout this guide which will help fast-track your channel’s success.
Table of Contents:
- Set up your channel basics
- Create a YouTube Video
- Optimize your YouTube Video
- Upload your first YouTube Video
Set up your channel basics
To get started, let’s go through some of the basics of setting up your YouTube channel.
Plan your channel topics and theme
This is the very first step to start a YouTube channel. Think about what you want your channel to be about. You’ll want to figure out the overall theme to your channel content to give it a focus. Perhaps your channel will be all about finance or dance. Or maybe you’re more interested in lifestyle vlogs or makeup. The sky’s the limit, but you’ll want to figure out the overall topic of your channel to make sure your channel is cohesive and branded.
✅ Pro tip: After figuring out your theme, write out as many video ideas as you can about that topic. Can you think of 5 video ideas? How about 10? Or 20? Or even 50? The more you can come up with, the better!
If you can’t think of any video ideas past just a handful, look to other channels for inspiration. Are there common types of videos you see on those channels?
If you still can’t think of enough video ideas, consider expanding the theme of your channel. You’re building for long-term, sustainable channel growth, and you won’t be able to keep it up if you can’t think of enough things to make videos about.
Determine your channel upload schedule
This is a very common question in the YouTube creator space and one you should think about before you start a YouTube channel.
Think about how often you’re able to publish. Be realistic. How much time do you have to create YouTube videos? Each video takes a lot of planning and time, so we recommend starting off with one video every week (unless you already have experience making videos).
Figuring out your video upload frequency will help get your channel on a regular schedule. It’s important to maintain this schedule so that your viewers know exactly when to expect new content.
✅ Pro tip: Consistency is key!
Don’t get overly ambitious at the start and plan to do a video a day when you’re just starting. Unless you have the time and energy to commit to this ambitious schedule, you run the risk of burning out quickly. If that happens, you’re likely to give up your channel altogether. Trust us. Start slow and grow from there.
Create a YouTube Channel
It’s time to create your YouTube channel. This is super easy and an exciting step to launching your very first YouTube channel. Simply login to your Google account and navigate to https://www.youtube.com/channel_switcher.
You’ll see an option to ‘Create A Channel.’ Simply click on that button and follow the few steps to create your YouTube brand account. You can find a more detailed step-by-step guide on creating your YouTube channel here.
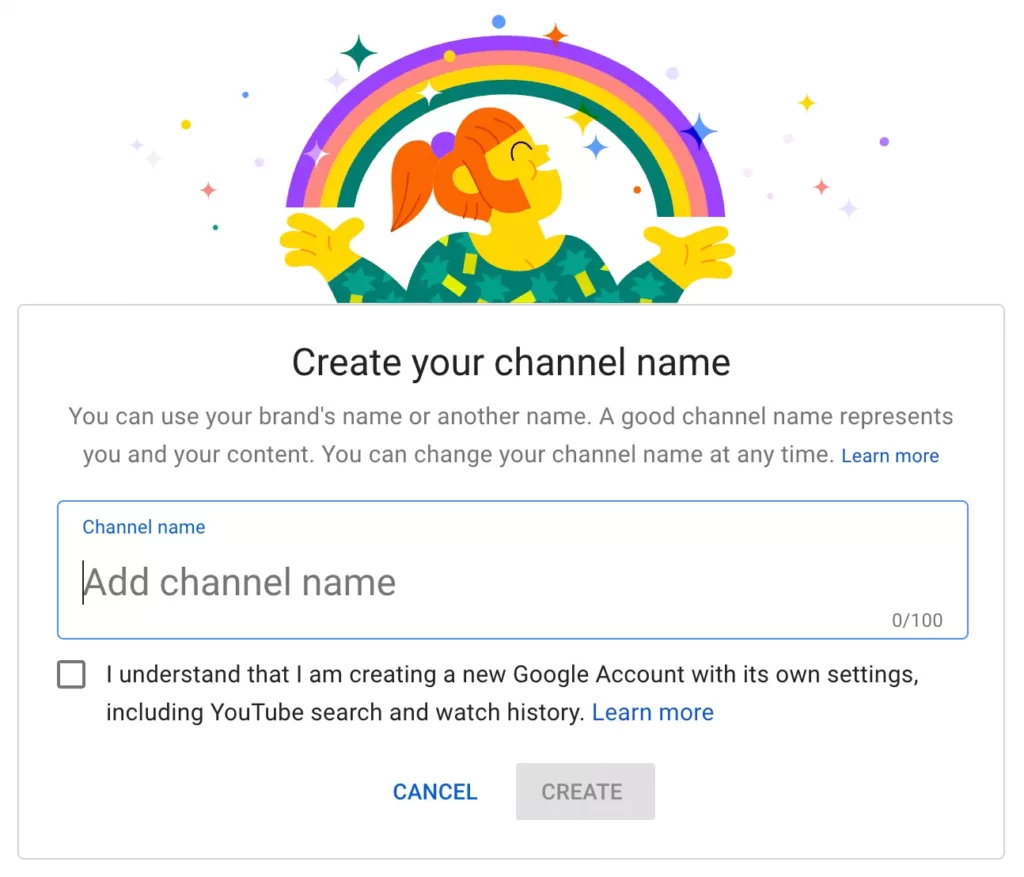
When naming your YouTube channel, consider if you will use your actual name or a brand identity. Some creators prefer to use their actual name (like Michelle Phan or Casey Neistat), whereas others like to give more of a branded identity (like 5-Minute Crafts or REACT).
✅ Pro tip: Think back on your channel topic and look at other creators in that community to see what is most common.
Upload a YouTube Profile Picture
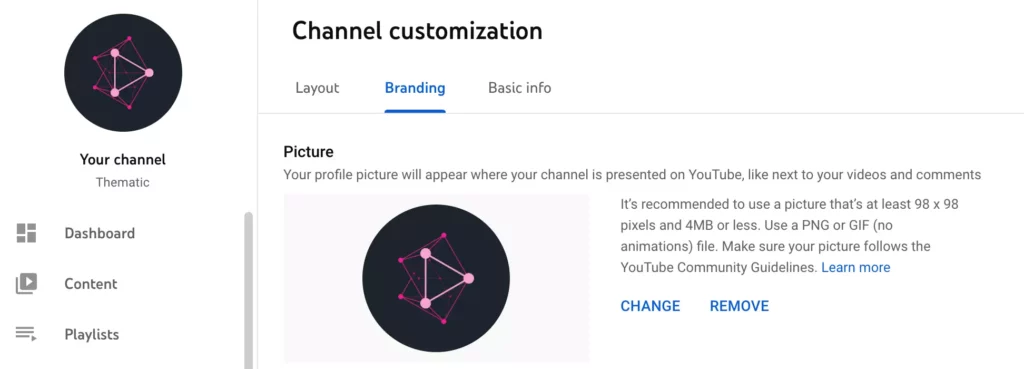
Your YouTube profile picture will be the ‘face’ of your channel. Select an image that reflects your channel’s title. If you chose your actual name, we suggest using an image or drawing of your face. If you chose the branded approach, consider featuring a logo here that includes your channel name.
Either way, make sure your YouTube profile picture is high-quality and visually appealing. You want to select an image that ‘pops’ and is easy to see.
✅ Pro tip: Also add your YouTube profile picture as your video watermark.
This watermark appears on all of your channel’s videos in the bottom right-hand corner of the video player. Viewers who click on this watermark can easily subscribe to your channel. This is a great and easy way to convert viewers to subscribers.
You can add your YouTube profile photo and other channel branding elements on the Channel Customization page. You can access this page from the left-hand menu in your YouTube Studio dashboard.
Design and add YouTube Channel Art and Banner Image
It’s time to design the look and feel of your YouTube channel!
The largest piece of branding will be your YouTube channel art and banner image. Design an image to reflect how you want your channel to look & feel. Canva and Photoshop are two great resources for making your channel art.
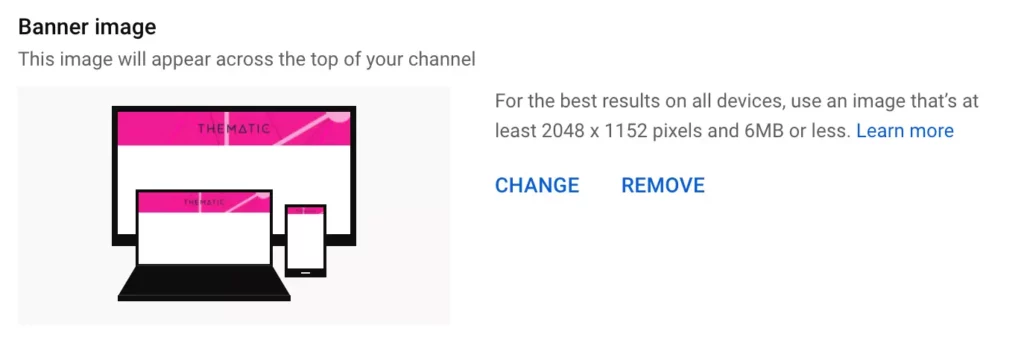
The ideal dimensions for YouTube channel art is 2560px by 1440px. The safe area (that will display on all devices) is the middle area of this (within 1546px by 423px).
✅ Pro tip: Keep any logos, text, or image focal points in this central area to make sure that your design can be seen on all device types easily.
Write a YouTube Channel Description and add your Social Links
Imagine that you are telling your friends what your channel is about. How would you describe it in just a few sentences?
Write this down and add it as your channel description. You can access the page to edit this from the Channel Customization page in your YouTube Studio dashboard.
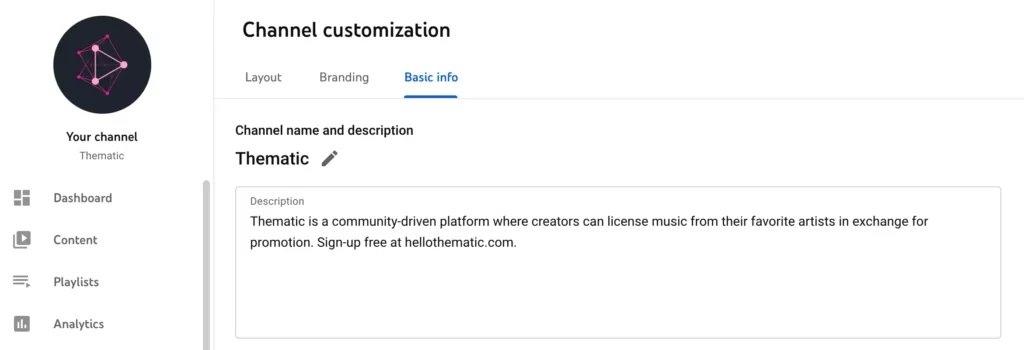
Add in your social links here, as well. You’ll want your subscribers and viewers to be able to find you across the web easily.
Lastly, add in your preferred contact email address so your viewers and brand partners can easily get in touch.
✅ Pro tip: If you’re not comfortable adding in your personal email address here, consider creating a new email account that is specific to your YouTube channel. Just make sure to check this inbox regularly so you don’t miss any important emails!
Add YouTube Channel Keywords
Think about the top keywords related to your channel – what are the words that help to describe your channel?
Add these to your channel keywords. We recommend including your channel name as one of these default keywords. You can do this by clicking to your Settings from your YouTube Studio dashboard and then selecting the Channel tab.
✅ Pro tip: Save the most relevant keywords for your channel as the upload defaults for your new videos. You can add this by clicking over to the Upload Defaults tab from the Settings menu.
Create a YouTube Video
Now that you have your channel basics covered and your YouTube channel set-up, it’s time to start creating content!
Film your content
This is where you actually create and film your video content! Pick one of your video ideas and just start recording. You can start by filming on your phone if you do not have access to a video camera.
It may feel awkward at first, but you’ll get better at it the more you film.
Do a few takes and make sure you capture everything during your recording session. It’s never fun to have to go back and re-film when you’re in the middle of editing.
If you’re not sure how to start, we recommend watching some of your favorite channels. That will help give you an idea of how to address the camera. What do you like about their videos? Think about incorporating similar elements in your own videos.
✅ Pro tip: Always record yourself asking users to subscribe. This is a great and easy way to remind casual viewers to become subscribers to your channel.
Edit your video
Once you have all of your footage recorded, go ahead and import it into your editing software. If this is your first time editing, you might want to start off with free resources like Filmora or iMovie, which are super beginner-friendly. When you’re ready to get fancy with your video editing, there are many different programs that will help you do that. Check out this list of the best video editing software for YouTube.
Start reviewing your footage and stringing it together in your editor. This part of the process takes a lot of time (especially if you’ve never edited before), so take your time.
✅ Pro tip: Think about your video title as you film. Is the content you’re capturing reflecting the video you’re trying to create?
As your video is coming together, think about if you want to add voiceover, graphics, or any other enhancements.
Once you get comfortable with the editing process, you can start adding in graphics, color grading, and more visual enhancements.
Soundtrack your video with music and sound effects
One of our favorite parts of the editing process is adding the music 😜 Thankfully, you can get all the best copyright free music for YouTube videos right here at Thematic.
With Thematic, creators can get all the best copyright-free music for YouTube videos, TikTok, social media, and podcasts. It’s totally free to use and keeps your videos claim-free and safe from copyright claims.
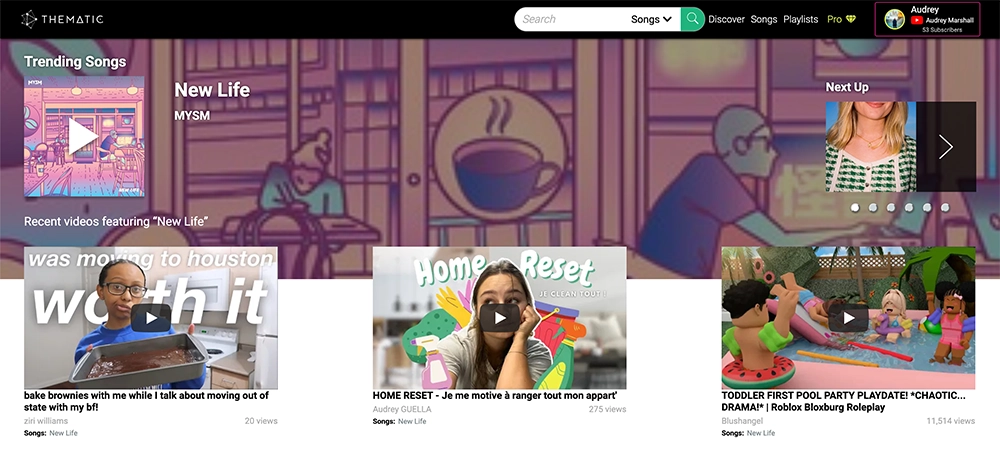
The best thing is, you can use the music from Thematic forever, worldwide, and no matter how many (or few) followers you have. In addition, you can even use the music in sponsored or branded content with no problems!
So if you are a creator who wants great royalty free music for YouTube videos, Thematic is the perfect solution for you.
Creator EMT shows you how to use Thematic to get free music to use in your YouTube videos
Now that you’ve found some great music and sfx for your video, add your songs to your video editor, make any last minute editing adjustments, and export your file!
✅ Pro tip: Check out our guides on how to add music to iMovie and how to add music to Adobe Premiere if you’ve never done it before!
Prepare Your Video for Upload
Before uploading, we recommend getting together everything you need to launch your video.
Watch your exported video file from start to finish to make sure there aren’t any export or other issues (like if the music is too loud or the outro is way too long).
Optimize your YouTube Video
Optimizing your YouTube video for search results is a key ingredient in your video upload process. We’ve broken this down into several categories below to make it super easy. Click here if you want a more detailed guide on how to optimize YouTube videos.
Title your YouTube Video
As you watch through your video, think again about the title. How would you describe your video in one sentence?
✅ Pro tip: Include the most important keywords at the beginning of your title.
For example, “House Tour of my Los Angeles Apartment” is way more optimized than “Watch me tour you around my LA apartment.” House Tour is your strongest keyword phrase, so you’ll want that first.
Write a Video Description
Write 1-2 sentences to describe your YouTube video. What happens in your video? What type of video did you create?
✅ Pro tip: Make sure all of the keywords in your title are included in your description (again, the most important & strongest keywords should be listed first!).
Underneath your description, add your social links. You’ll want your viewers to be able to find you across the web easily.
Also include links to any sites or videos mentioned in your video. If you told your viewers about a YouTube video they should watch, include a link to the video in your description for easy access.
✅ Pro tip: At the very bottom of your video description, include your channel description. This should also include your publishing schedule.
This channel description helps new viewers easily understand what your channel’s about and helps with search optimization.
Optimize YouTube Video Keywords and Tags
Think again here about your title for your video. Put the ‘strongest’ keywords for your video first in your keyword box (just like you did for your title and description).
Then fill out your keyword box with more descriptive keywords. Use a mix of specific and general keywords, as well as common misspellings of any of your important keywords.
End your tags box with your standard channel keywords, including your channel name and topic. Make sure you use as many keywords as you can think of, but don’t use any that are unrelated to your video (YouTube will not like that).
Design your video thumbnail
Here’s a link to download a perfectly sized YouTube thumbnail template for Photoshop (PSD) file.
Our top tips for creating engaging video thumbnails are:
- Using bright, high-contrast images. Bump up those highlights and contrast.
- Focus on close-up shots (if of a person) or clear images of your video topics. Our favorite way to test this is to zoom out super far on your image so that it’s about an inch wide in your photo editor. Is it still clear? Or is the image way too detailed or small to figure out what it is? If that’s the case, try another screenshot from your video. Keep in mind that many viewers will discover videos when using small screens (on their phone). Your thumbnail should be easy to see and understand when both super small and large (TV viewing).
Upload your first YouTube Video
It’s time to upload your video! Add in all of the elements you’ve already prepped: your video file, thumbnail image, video title, description, and tags.
Add an end screen to your video when it’s finished uploading. We recommend adding this for any video you publish.
Include your subscription card, as well as any other videos you’d like to recommend. This will help viewers to continue watching your channel once the video is finished.
✅ Pro tip: The “Best for Viewer” or “Most Recent Upload” is a great option to include if you’re not yet sure what other video to recommend.
Share your video on social media
Share your YouTube video! Don’t be shy – you’ve worked hard on this. Post about your video on Instagram, Twitter, and anywhere you’re active.
✅ Pro tip: Think about doing a teaser video on TikTok or Shorts.
Engage with viewers and track video analytics
Respond to viewer comments as you get them, but don’t expect overnight success here. Building a YouTube channel takes time and commitment.
As you grow, think about organizing your content into playlists, customizing the layout of your channel, and keeping your branding and social links up to date.
Track your video performance in YouTube Analytics to get an idea of how users are finding your content and which videos are resonating with viewers. Learn from this, but don’t get stuck analyzing.
Focus on creating content, and you’ll learn over time what’s working and what isn’t working so well.
✅ Pro tip: Being consistent with your uploads, like committing to posting one video a week, will be a high driver of your success.
That’s it! It’s time to start your YouTube channel!
We hope you find this guide to start a YouTube channel helpful. The most important thing to keep in mind is to have fun in the process. It’s not always an easy journey, but if you stick with it, you’ll begin to see results. And once your channel starts growing, it can become addicting.
So, good luck on your YouTube journey! Start your YouTube channel today – we can’t wait to see what videos you’ll create!
Looking for more creator tools and resources? Visit Thematic’s Creator Toolkit for additional resources on creating content – including thumbnail and channel art templates, best practices, and of course, great royalty free songs to use in your videos for free with Thematic.

